
Customising the user experience is one of the most important parts of deploying new computers to a team, or new team members to an existing computer. It ensures that team members are able to start using their new workstations for productive work in as little time as possible, with as few issues as possible.
One of the frustrating parts of this process is due to some of the default settings Microsoft have configured, which ultimately results in a lot of irrelevant junk getting in the way when a new user is added or logs into a workstation using conventional methods. We use a third party utility called TransWiz to help avoid this issue, which allows us to deploy our own pre-configured user profile which is free of any bloat and silly default settings. It includes optimisations to the start menu layout, pre-configured web browser with ad-blocking and quick access bookmarks, and much more. Whilst it is not a perfect system, it is a lot better than the defaults that Microsoft insists on using.
NOTE 1: This guide is only applicable to Windows 11 workstations deployed by Amigo Technology after August 2022.
NOTE 2: This guide assumes that your workstation has not been used yet. If you have already created profiles, please be aware that this will overwrite your profile and data not synced to cloud or network storage systems may be lost.
TransWiz - Profile Deployment Process
TransWiz is the primary tool we use to set up a user profile. If your organisation is using Microsoft 365 with Azure Active Directory, you will need to use Transwiz to create a new “AzureAD-Migration” user, which can then be used with another utility later.
To get started with TransWiz is easy:
1. Log into the computer using either an existing administrator account, or local admin account “eg. “Owner”.
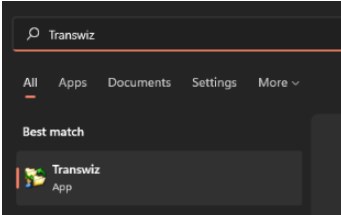
2. Open the start menu and search for “TransWiz”
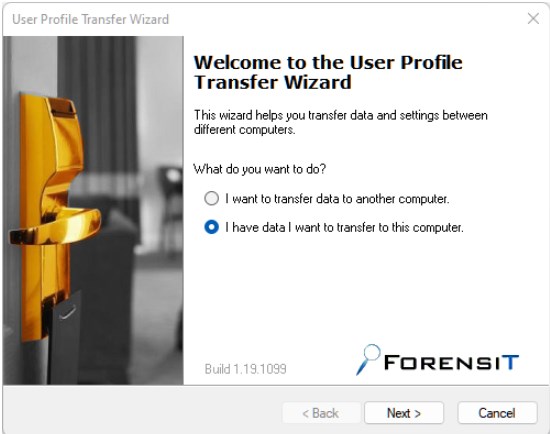
3. Open the application and select “I have data I want to transfer to this computer”.
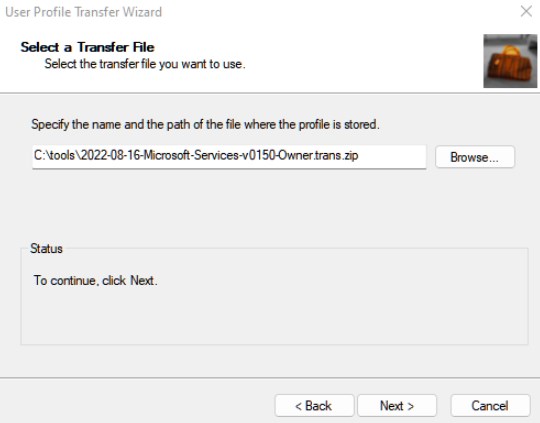
4. You will now be given the opportunity to select a transfer file that we have prepared for you. To do this, click the “browse” button, and then navigate to C:\tools. From here, select the package you want to set up (eg. Microsoft Services for Microsoft 365, or Google Services for Google Workspace or Google Accounts).
5. Assuming you have already been joined to a domain, you will have the ability to define the domain user, or for local accounts, you can enter in a local profile. If you plan to set up AzureAD, then enter “AzureAD-Migration ” as the username for the local profile, and make sure that “Set as the Default Logon” is disabled.=

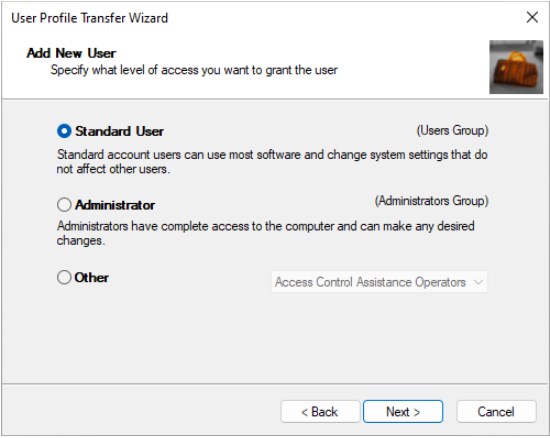
6. If prompted, you can configure user permissions. Unless the user needs full system access, a standard user is recommended for security purposes.
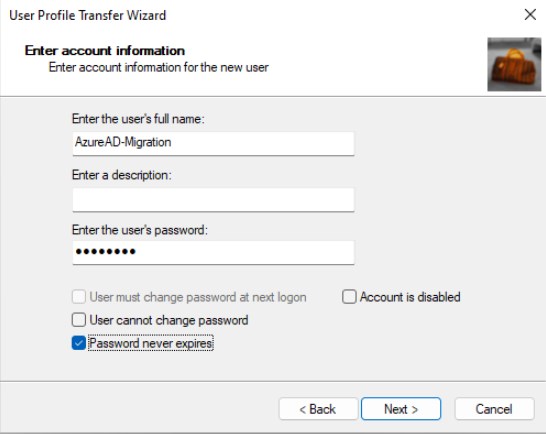
7. From here you can enter additional account information. It is recommended to tick the “Password Never Expires” checkbox. A description isn’t usually required.
8. Your user profile should now be deployed. If you are setting up an AzureAD account, then you need to continue to the ProfWiz section below.
9. Log out, and log into your new user account. Finalise the account setup by completing the post-deployment profile setup guide for your organisation.
ProfWiz - Profile Deployment Tool for AzureAD
For reasons we don’t quite understand, Microsoft has decided to treat Microsoft 365 users differently to everyone else. Thankfully, with a few extra steps, you can set up new profiles with AzureAD fairly easily as well.
1. This guide assumes that you have already logged into a local account with administrator privileges and you have already deployed an AzureAD-Migration user, based on the TransWiz guide above.
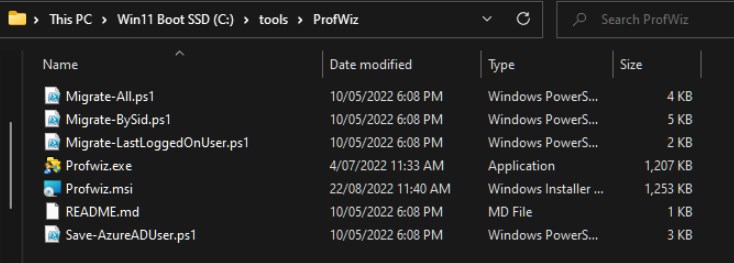
2. Check that ProfWiz is installed on your system. Go to your Start Menu and search for ProfWiz. If the application appears, run it, and skip to step 3. If nothing comes up, you will need to install this, using the following method:
a. Go to https://www.forensit.com/downloads.html and download the Freeware edition for Windows 11
b. Download Transwiz.msi to C:\Tools\ProfWiz. Create the folder if it does not exist.
c. Run Transwiz.msi and go through the setup. Run Profwiz.exe once it has finished installing.
d. Go to https://github.com/ForensiT/PowerShell and download the code as a zip file, and save this in C:\Tools\Profwiz\
e. Extract the zip file and ensure that the files are are located within C:\Tools\Profwiz
f. Run ProfWiz.exe
3. Open Powershell as administrator, and run the following script:
a. cd C:\tools\ProfWiz\; .\Save-AzureADUser.ps1
b. Accept any permissions to install utilities. Eventually you will see a popup to sign into a Microsoft 365 account for your organisation – sign in and follow the instructions until it is complete.
c. If all goes well, you should now have a new XML file in your Profwiz folder.
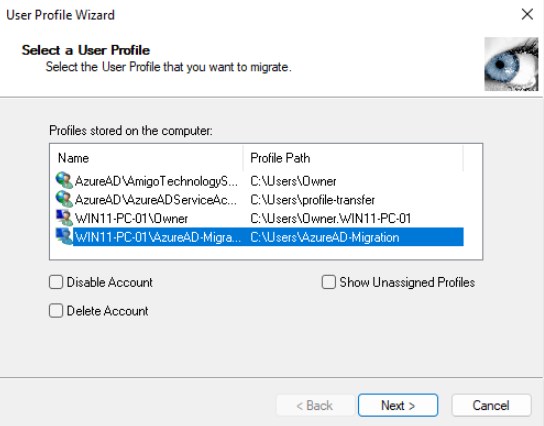
4. Go back to the ProfWiz window and proceed until you get to a “Select a User Profile” section. Select the “AzureAD-Migration” account.
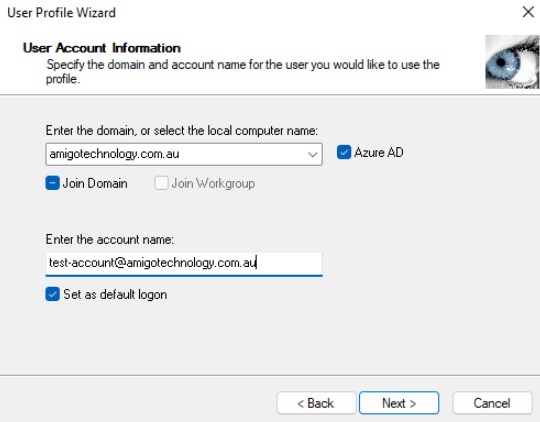
5. Assuming you are already joined to AzureAD, then you should see the domain already populated, and AzureAD will be ticked. Enter the email address of the user that you want to set up on this computer. If you plan to add more than one user to this computer, then it is recommended to untick the “set as default logon” option.
6. Once you click next, your system will reboot. If you need to add another user, you must start over from the Transwiz section, as this process migrates data, not copies it.
7. Once you have finished adding all the users to the computer, finalise the account setup by completing the post-deployment profile setup guide for your organisation.