Editing a website using WordPress and Elementor is a straightforward process that involves logging into the WordPress dashboard and opening the page you want to edit. From there, you can use Elementor’s intuitive interface to customise the page’s design and content by adding, deleting, or modifying widgets and sections. Once you’re happy with your changes, simply click the “Update” button to make them live on your website.
Here's the step-by-step process on how to edit your WordPress website using Elementor:
Step 1. Log in to your WordPress dashboard.
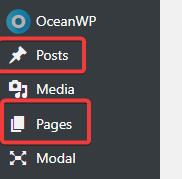
Step 2. Navigate to the page or post you want to edit.
You can find it by going to "Pages" or "Posts" in the left-hand menu and selecting the specific item.
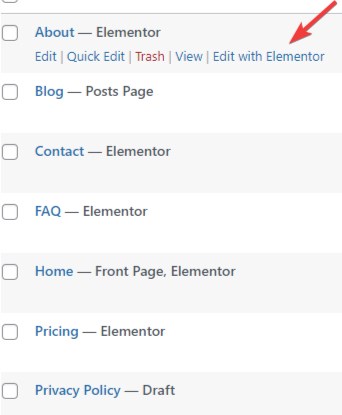
Step 3. Click on the "Edit with Elementor" button. This will launch the Elementor editor interface.
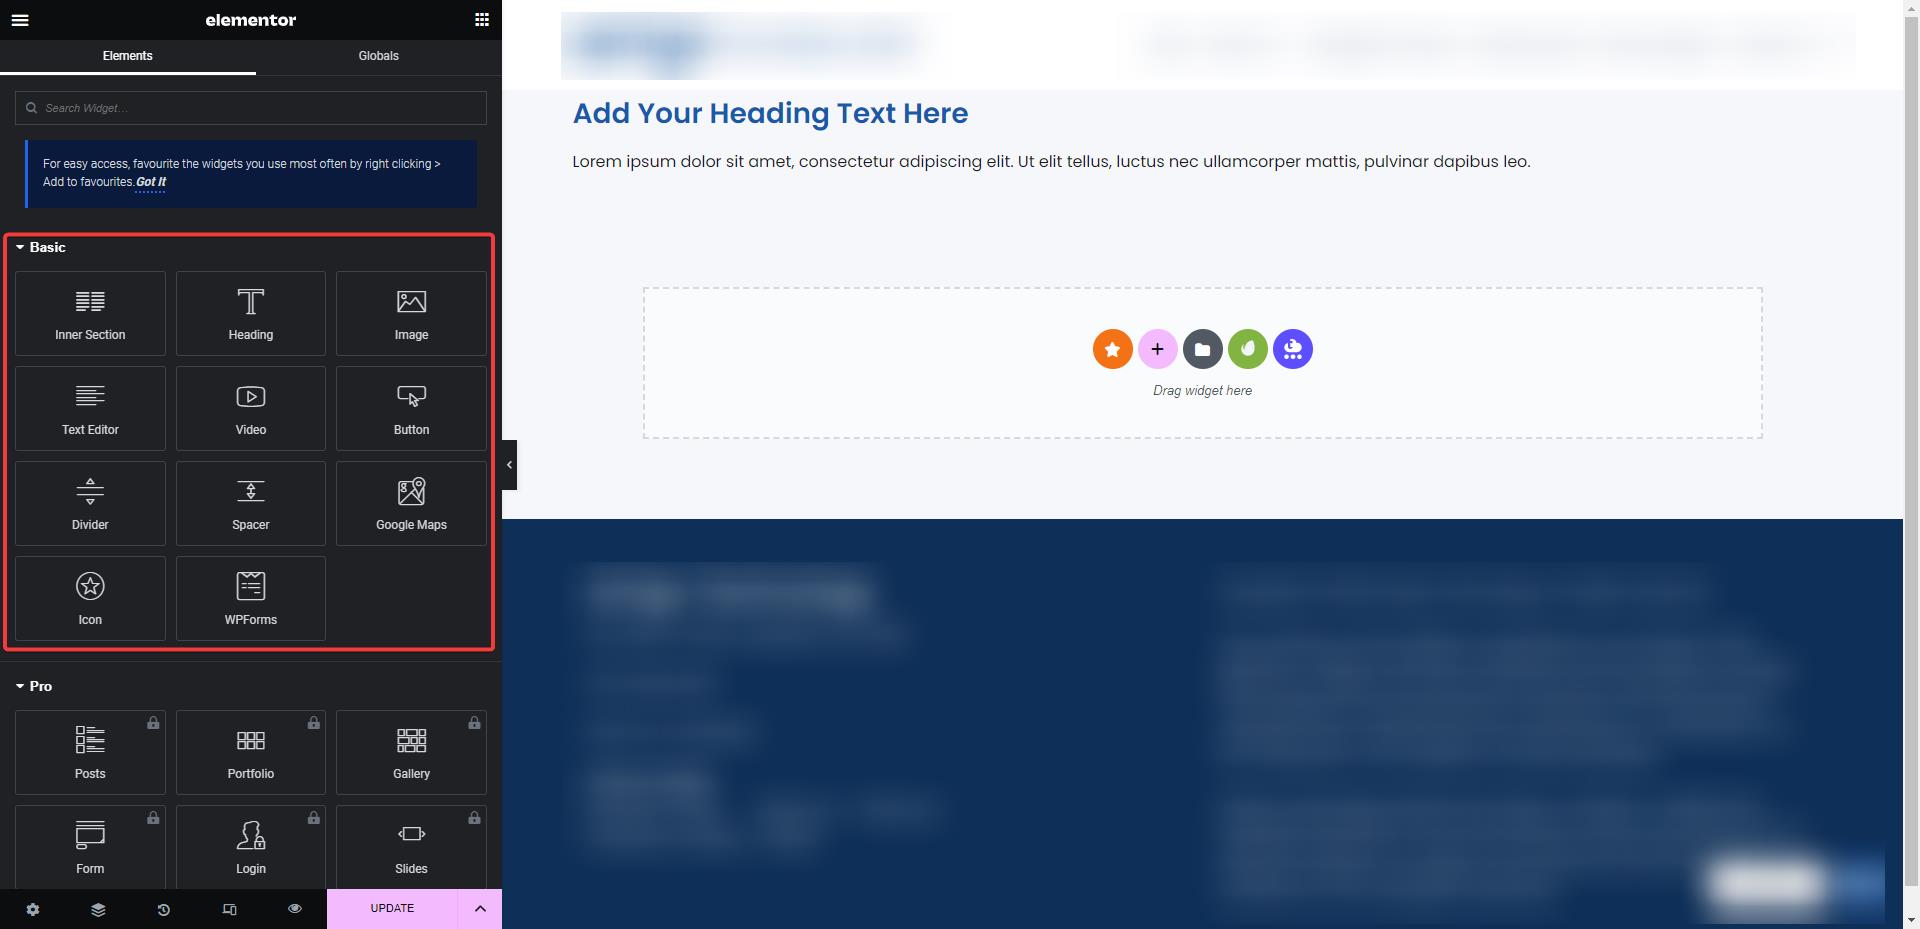
Step 4. On the left-hand side of the screen, you'll find the Elementor sidebar panel with various widgets and elements that you can use to edit your page or post.
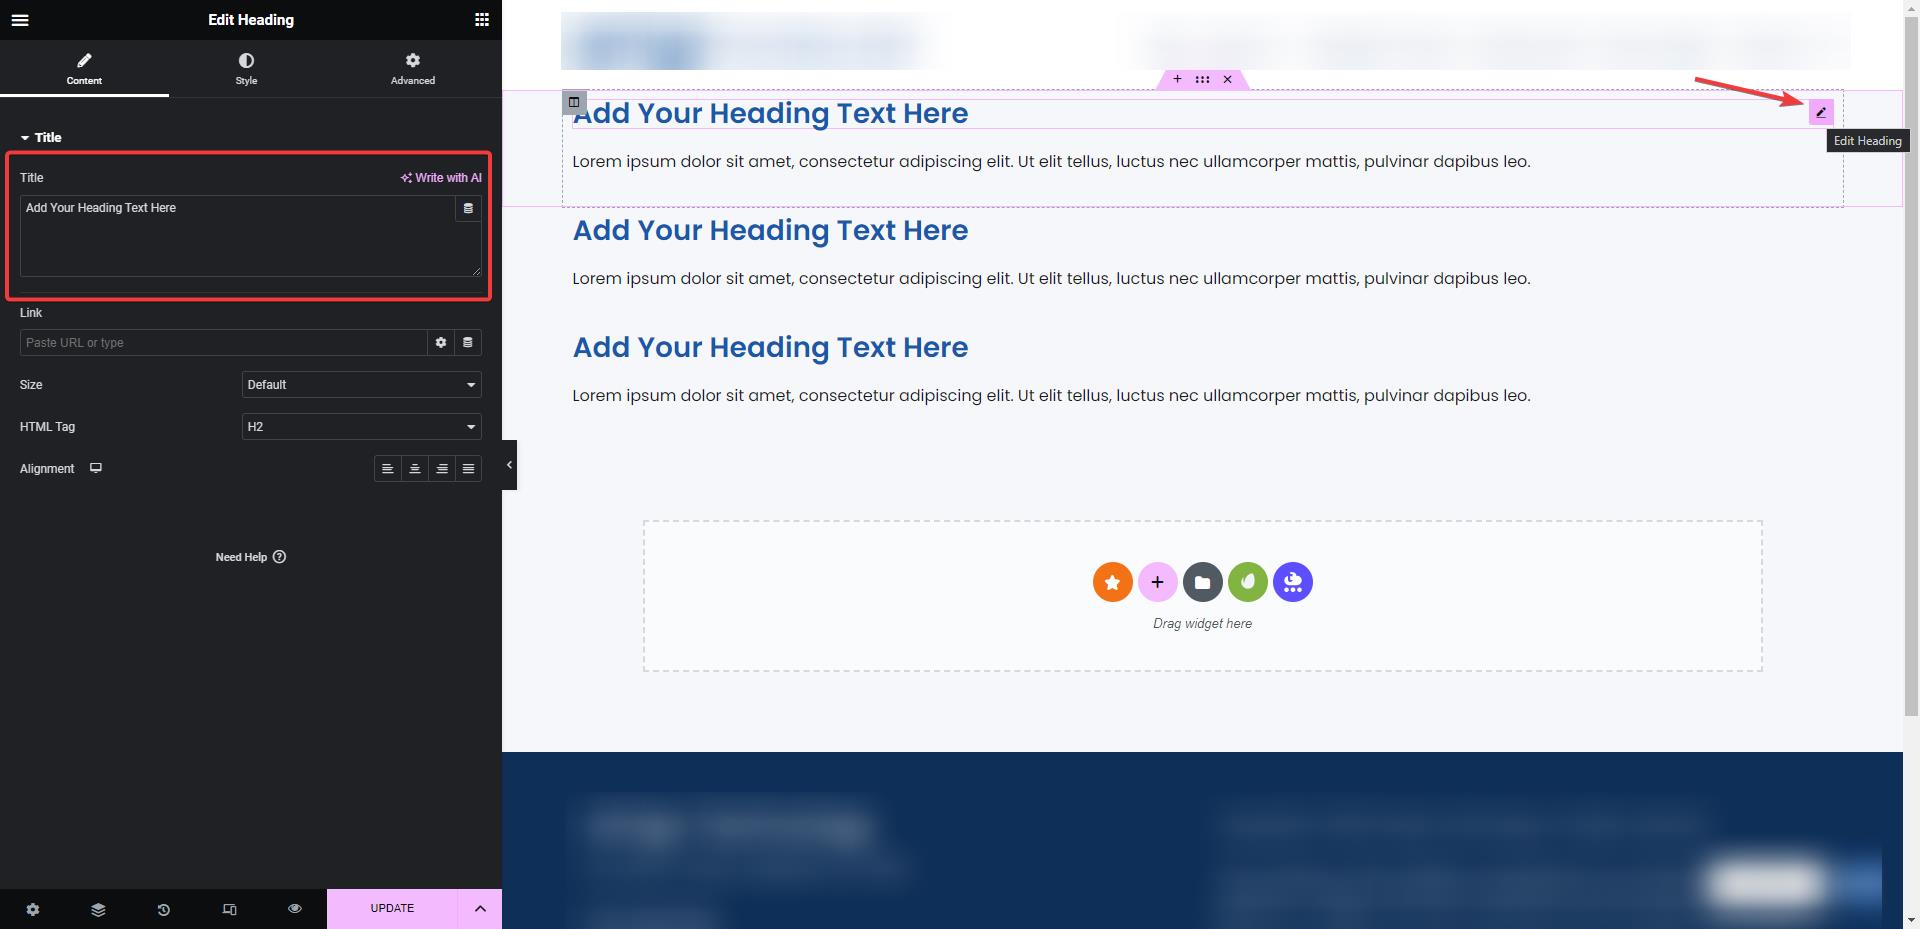
Step 5. On the main canvas, you'll see the page divided into sections or widgets. Right-click on the widget or section you want to edit.
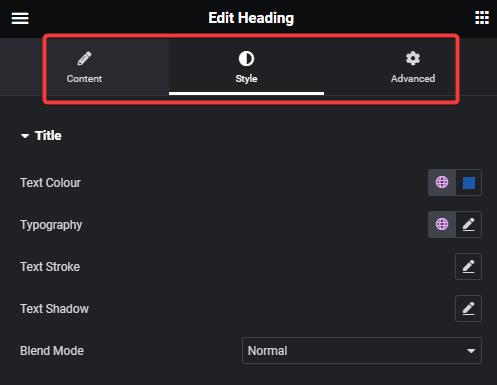
Step 6. After selecting the widget or section, you'll see a toolbar appear on the left-hand side of the editor. This toolbar contains different settings and options for the selected widget.
Use the toolbar to customise the widget according to your preferences. You can change the text, images, fonts, colors, and layout of the widget.
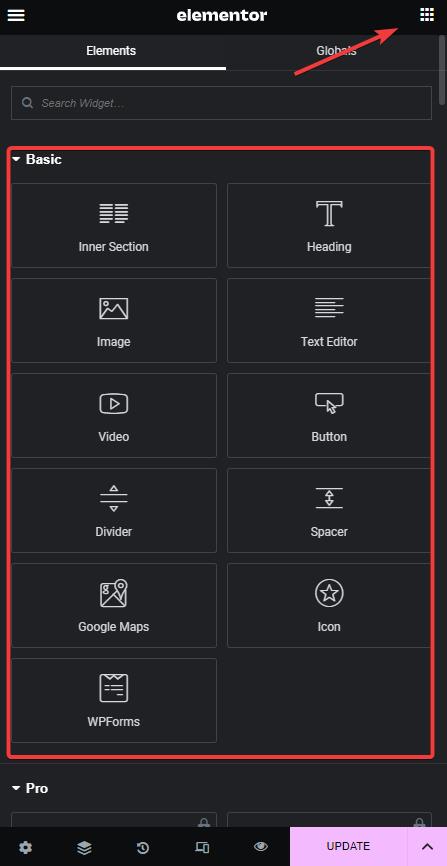
Step 7. To add new elements to your page, click on the "Elements" button in the Elementor sidebar panel. This will open a list of available sections and widgets.
Feel free to drag and drop the Element/Widget into the canvas.
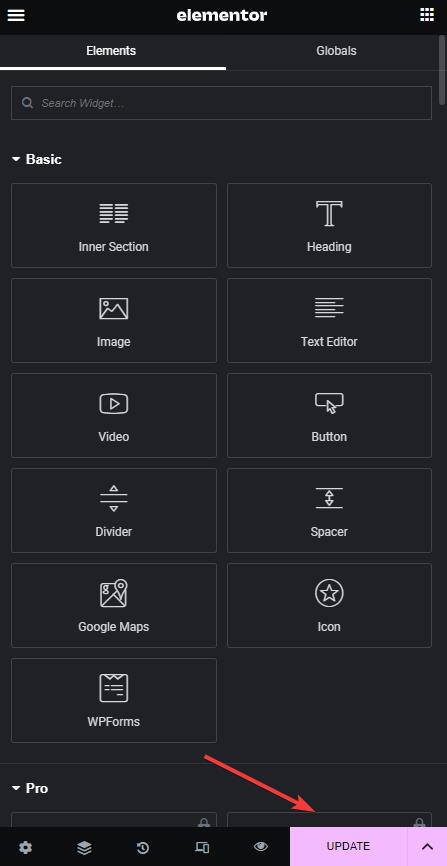
Step 8. Once you've made the desired changes, click on the "Update" button located at the bottom of the editor to save your changes.
That’s it! By following these simple steps, you can easily edit and customize your website content using Elementor.